Bangkok Travel Guide
Suvarnabhumi Arrival: Plane to Car, Step by Step
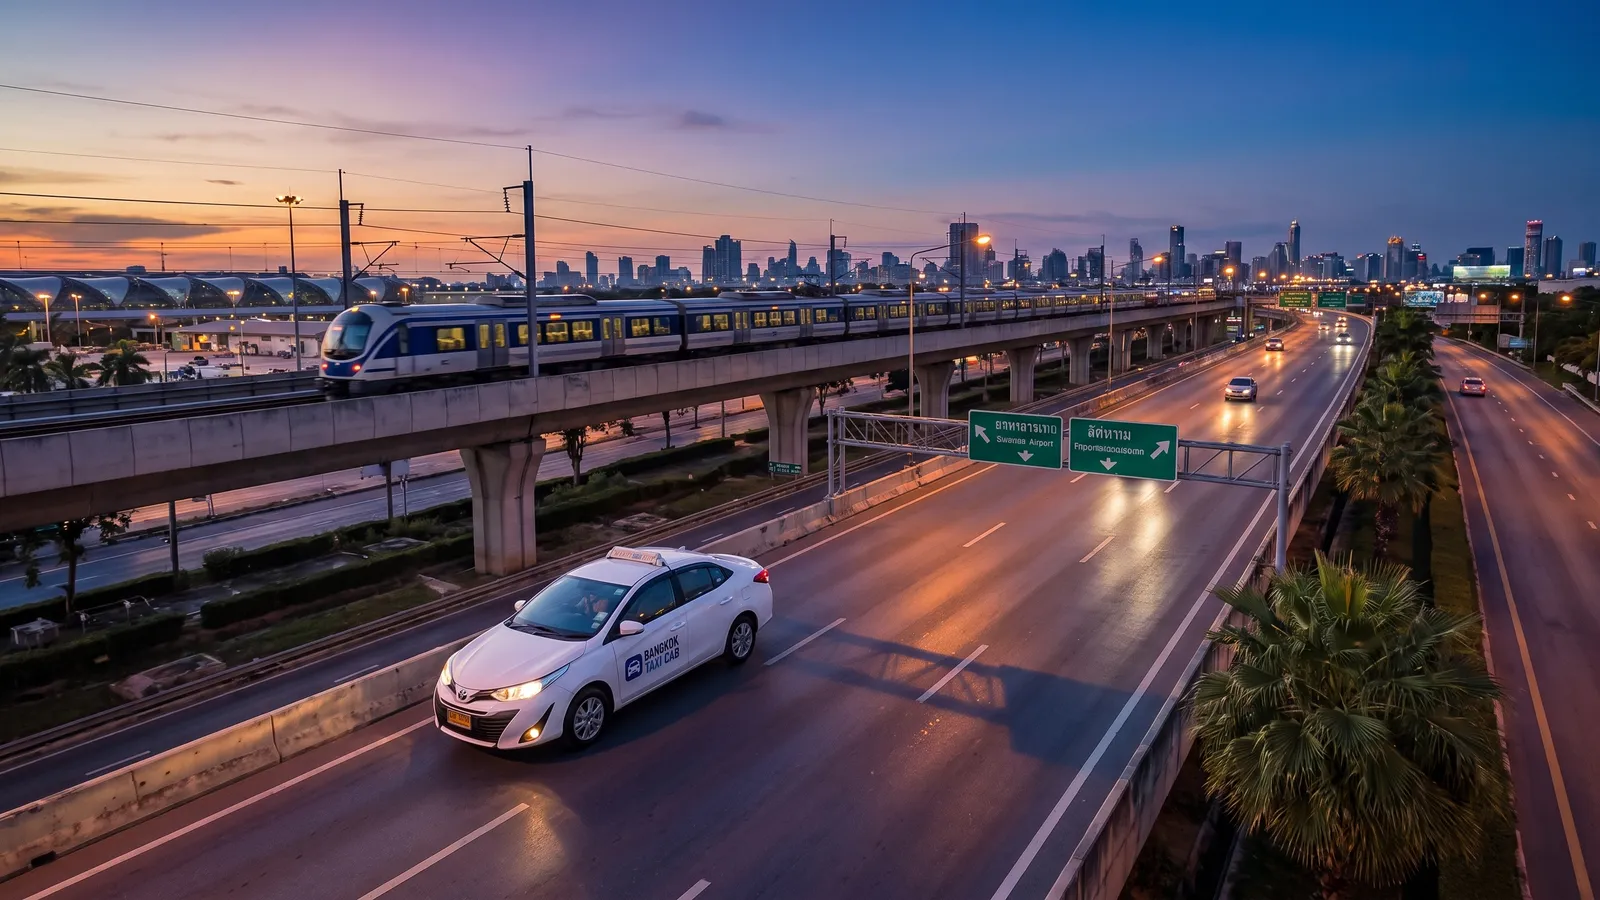
The stretch between the seatbelt sign switching off and sinking into the back seat of your car is where most first-time arrivals feel lost. It’s a big airport, you’re tired, and the signs come at you fast. This is the calm, in-order version: exactly what happens from touchdown to sitting in the car, and what to have ready at each step. Read it once on the plane and you’ll walk Suvarnabhumi Airport (BKK) like you’ve done it before.
The 60-second checklist
Before the details, here’s the whole arrival in seven steps:
- Have your TDAC arrival card confirmation ready on your phone (screenshot it).
- Follow Arrivals / Immigration signs down to passport control.
- Pick the right immigration queue and have your documents open.
- Collect your bags at the baggage claim level.
- Clear customs (green channel if nothing to declare).
- Buy a SIM/eSIM and grab cash from an ATM in the arrivals hall.
- Go to Level 2, Gate 3, find your name board, and meet your driver.
Now, the same journey slowly.
Step 1: Before you land — have your TDAC ready
Thailand replaced the old paper arrival slip with the Thailand Digital Arrival Card (TDAC), an online form you complete before you travel. Fill it in ahead of time, then take a screenshot of your confirmation so you can show it even without signal. Immigration officers may ask to see it, and having it open on your phone saves you fumbling in the queue.
If you haven’t done it yet, read our full walkthrough: the TDAC arrival card explained. Do it before you fly — airport Wi-Fi is patchy right where you’d need it.
Also have ready: your passport (valid 6+ months), your onward or hotel address, and — if you booked a car — your driver’s meeting details.
Step 2: Off the plane and down to immigration
Follow the Arrivals and Immigration / Passport Control signs. They’re in English and easy to follow. Suvarnabhumi funnels everyone down toward a large immigration hall. It can be a long walk from far gates, so don’t panic if it takes ten minutes on foot.
Which queue?
- Foreign Passports / Non-Thai is your lane unless you hold a Thai passport.
- Some nationalities and travel classes have fast-track lanes; check signage or your airline app.
- Families with young children can often use a priority lane — ask a floor marshal.
Step 3: Immigration queues and tips
Peak arrival banks (roughly early morning and late evening) can mean long waits. A few things that genuinely speed you through:
- Have your passport open to the photo page and your TDAC confirmation visible before you reach the desk.
- Take off your hat; be ready for a quick photo and fingerprints.
- Keep a pen handy in case any supplementary paper is requested.
- If you’re connecting to a domestic flight or heading straight onward, tell the officer your onward plan clearly.
Budget 30 to 60 minutes here at busy times. If someone is meeting you, this is the wait they need to plan around — which is exactly why flight tracking matters (more on that below).
Step 4: Baggage claim
After immigration you descend to the baggage claim level. Screens list flights against belt numbers — find your flight number and head to that carousel. If your bag doesn’t appear, the airline baggage desk is on the same floor; report it before you leave the area, and keep your bag tag stub.
Free luggage trolleys are available throughout this level. Grab one if you’ve got more than a carry-on; it makes the next stretch much easier.
Step 5: Customs — green channel or red
With your bags, you walk through customs. If you have nothing to declare, take the green channel and keep walking. Only use the red channel if you’re carrying goods above duty-free allowances or restricted items. It’s usually a simple walk-through.
The moment you pass customs, the sliding doors open into the arrivals hall. This is where the airport suddenly gets busy and loud — stay calm, you’re nearly there.
Step 6: SIM, eSIM and cash — landside in the arrivals hall
Just past the doors, both sides of the arrivals hall have what you need:
- SIM card counters (AIS, TrueMove, dtac) sell tourist data packs on the spot — bring your passport. Expect roughly 200–600 THB for a week or two of data depending on the plan.
- Prefer an eSIM? Buy and install it before you land so you have data the moment you clear customs — no queue at all.
- ATMs line the hall for cash. Note that Thai ATMs typically charge a 220 THB foreign-card withdrawal fee, so take out a sensible amount in one go rather than several small withdrawals.
- Currency exchange booths (SuperRich and bank counters) are here too, usually at better rates than your home airport.
Do the SIM and cash now if you can — it’s far easier here than later on the street.
Step 7: The arrivals hall layout and where drivers wait
Suvarnabhumi’s arrivals hall is on Level 2. The exits are numbered by Gate, and this numbering is the key to meeting anyone without stress.
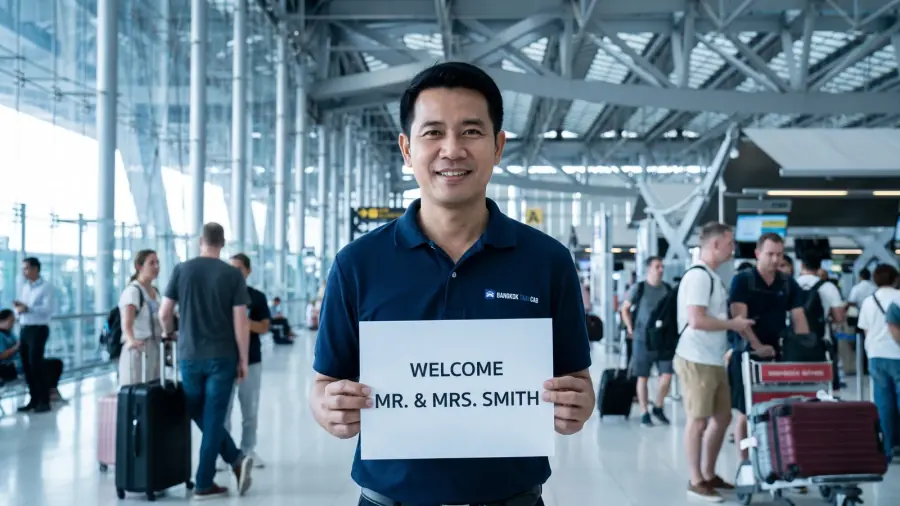
If you’ve pre-booked a private transfer with us, your driver waits at Level 2, Gate 3, holding a name board with your name on it. That’s the plan every time, so you always know exactly where to walk — no scanning a crowd of strangers wondering who’s yours.
For the full picture of how the hand-off works, what the driver is holding, and what to do if you can’t spot them, see how airport meet & greet works.
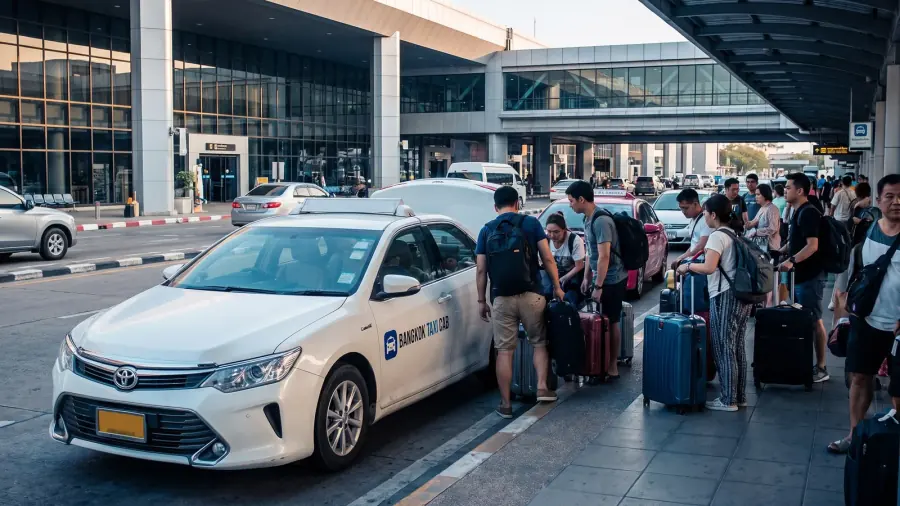
Public transport and taxis sit elsewhere: the public taxi rank is downstairs on Level 1, and the Airport Rail Link is on the basement level. If you’re weighing those against a private car, our complete airport transfer guide lays out every option side by side.
What if my flight is delayed or early?
This is the single biggest worry for arrivals, and with a pre-booked transfer it’s the one you can stop worrying about. We track your flight number, so if you land late, land early, or get held on the tarmac, your driver knows and adjusts. There’s no penalty for a delayed flight — the car simply meets the plane that actually arrives.
If immigration or baggage runs long, that’s fine too. Our driver monitors arrivals and waits; a reasonable amount of free wait time is built in. If anything feels off, message the number on your booking confirmation and we’ll guide you to Gate 3.
Step 8: To the car, and paying the fixed fare
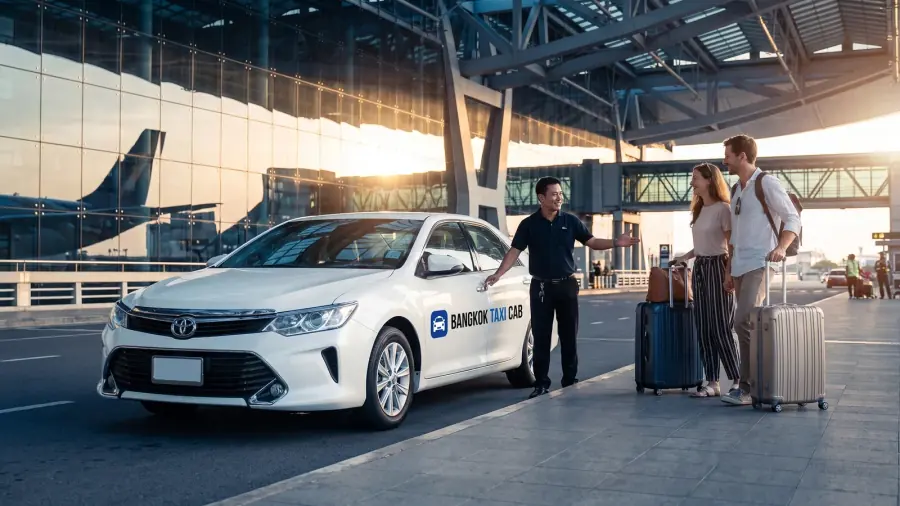
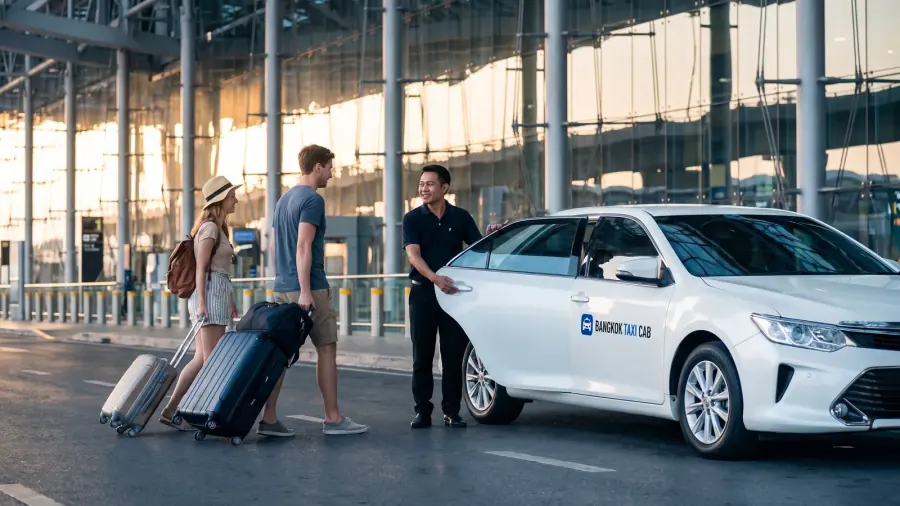
Once you’ve met your driver at Gate 3, they’ll help with your luggage and walk you to the car park — a short covered walk, no standing in the heat at a taxi queue. Your car is a clean, air-conditioned vehicle from our white fleet.
The best part after a long flight: the fare is fixed and agreed before you flew. No meter ticking in traffic, no vague toll add-ons, no surge pricing. Expressway tolls are already included in the quoted price, and you pay the amount you already agreed — in THB cash to the driver, or as arranged when you booked. Airport transfers start from 600 THB per car.
If you’d like that certainty for your own arrival, book a Suvarnabhumi transfer and send us your flight number. Then all you have to do at BKK is follow the signs, clear the steps above, and walk toward Gate 3 — someone will be holding your name.